
How to fit a handlebar switch on your motorcycle: horn, accessories and starter

Auxiliary lights, a louder horn, a USB socket you want to switch off, a starter button on a project bike… Sooner or later, almost everyone who works on their bike needs one more switch on the handlebar. Done well, it looks clean and lasts for years. Done badly, it means overheating, intermittent contacts and cables that pull when you turn the bars. Here is what to bear in mind.
Before you buy: three checks
1. Handlebar diameter
Most European and Japanese bikes use 22 mm (7/8") handlebars. But many customs, especially American ones, have 1-inch (25.4 mm) bars, and some tapered or aluminium handlebars change diameter around the switch housings. Measure with a caliper exactly where you will mount the switch.
2. Free space
Between the original switchgear, the lever, the mirror and the grip there is not always room. Measure the free space and make sure the switch does not stop the throttle twisting or the lever moving, and that it does not hit the tank or fairing with the steering on full lock.
3. What you will power and how much it draws
Current is what decides whether the switch can do the job alone or needs help. It is calculated as current = power ÷ voltage, and we cover it below.
Momentary or latching: not the same thing
- Momentary: makes contact only while you press it. It is what you need for a horn, a headlight flasher or a starter button.
- Latching: press and it stays on; press again and it switches off. It is the logical choice for auxiliary lights or an accessory you want to leave on.
If you want a momentary button to control something that stays on, that is possible too: use a latching (impulse) relay, which changes state with each press.
When you need a relay
A handlebar switch is designed to give commands. If the accessory's current is high or the cable to the handlebar is long, the right way is for the switch to trigger a relay and for the relay to carry the current, through a short circuit with the right cable. Some rough examples at 12 V:
- Disc horn: usually draws a few amps. Trumpet or air horns draw quite a lot more: relay.
- Pair of 55 W halogen lights: about 9 A. Always a relay. We explain it step by step in how to install auxiliary lights with a relay.
- Starter button: on most bikes the button does not drive the starter motor directly; it triggers the starter relay or solenoid, which draws little current. Check your bike's wiring diagram.
As a rule of thumb: even if a switch can handle more, use a relay as soon as the draw is several amps or the accessory will be on for a long time. The switch lasts longer and the wiring runs cooler. Always check the real current of your accessory on its label.
Installation: what makes the difference
- Disconnect the battery before you start.
- Fit a fuse on every new circuit, as close to the battery as possible.
- Feed the switches from a positive that is only live with the ignition on. That way no accessory can stay on with the bike off and drain your battery.
- Route the cable along the original loom, held with cable ties but not over-tightened, and away from the exhaust and moving parts.
- Leave slack for the steering. Turn the bars to full lock on each side and check that no cable gets tight or pinched.
- Seal the joints with heat shrink or waterproof connectors. An IP65 switch is not much use if water gets in through a badly made splice.
- Test everything with the bike stationary before riding off.
And before adding lighting or changing the horn, check the regulations in your country: depending on the case, the component may need to be type-approved and the modification may need to be registered or inspected.
W89 handlebar switches
W89 handlebar switches are made for exactly this: a CNC aluminium mount for 22 mm handlebars, 12 mm momentary buttons, IP65 sealing and screw terminals. There are 2- and 3-button versions, each button independent, and design-your-own versions with the colour of each button chosen by you, so you know what each one does without looking.
Choose your switch
W89 2-button handlebar switch: horn plus one more function.
W89 3-button handlebar switch: one function per button.
Design your own: the same switches, with the colour of each button chosen by you.
2 buttons → 3 buttons → Design your own →Frequently asked questions
Can I fit the switch on a 1-inch handlebar?
22 mm mounts do not fit properly on a 25.4 mm handlebar. Before you buy, measure the diameter where you will mount it.
Does it work on a 6 V bike?
The switches are specified for 12 V. If your bike is 6 V, ask us before buying.
What if a button breaks?
The buttons screw into the mount, so they can be replaced one at a time without changing the whole switch.
Questions about your installation? Write to us and we will help.
W89 Technologies · Vigo

Handlebar switch · 2 buttons
Two momentary push buttons on a CNC aluminium mount for 22 mm handlebars. For the horn, flash-to-pass, starter or any 12 V...
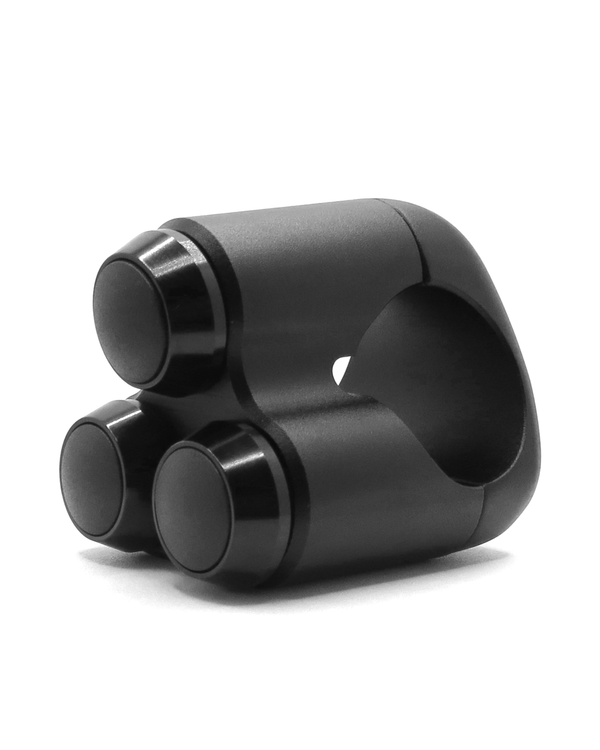
Handlebar switch · 3 buttons
Three independent momentary push buttons on a CNC aluminium mount for 22 mm handlebars. One for each job: auxiliary lights, horn, flash-to-pass,...
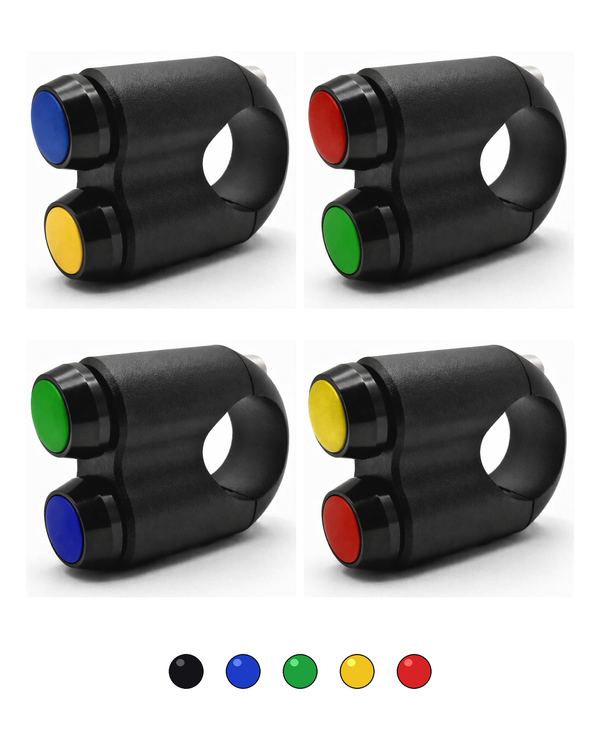
Handlebar switch · 2 buttons, your colours
Our CNC aluminium handlebar switch, with the colour of each button chosen by you. For the horn, flash-to-pass, starter or, with a...